Site
Site
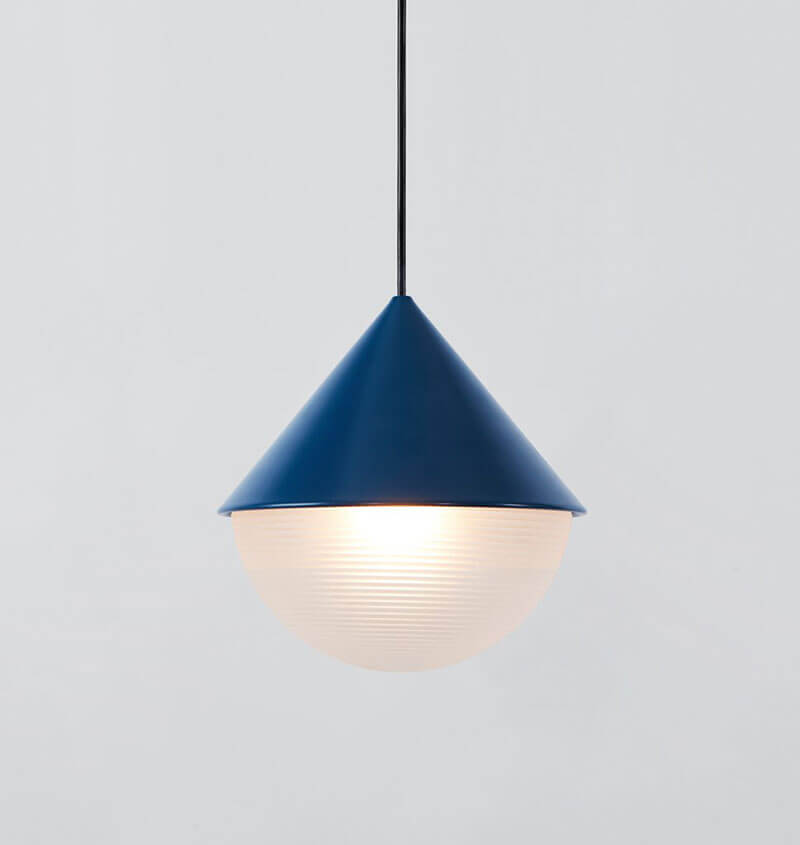
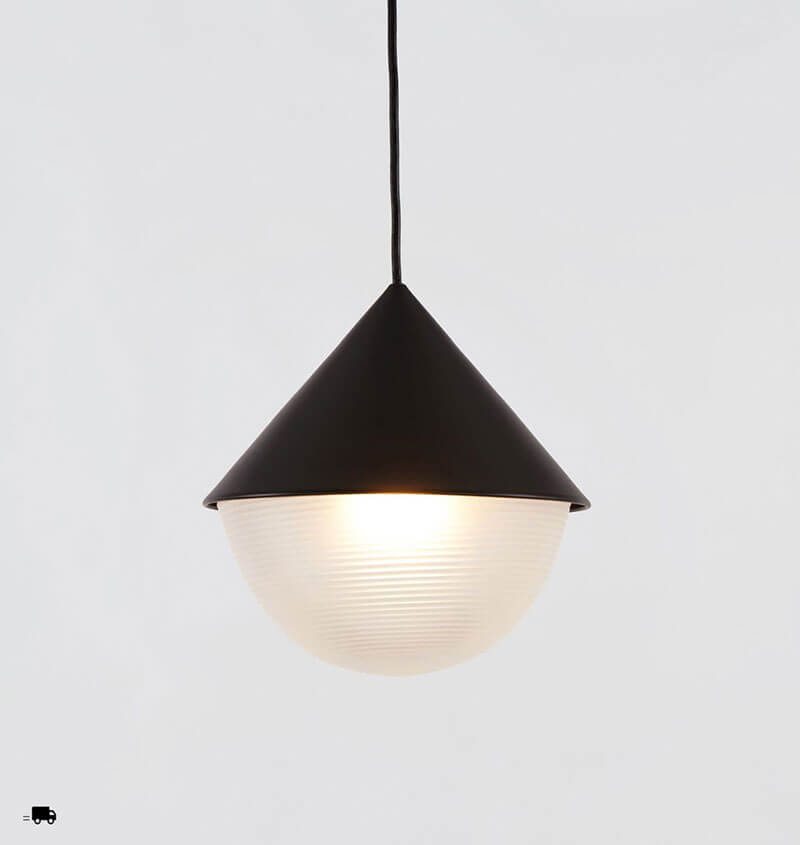
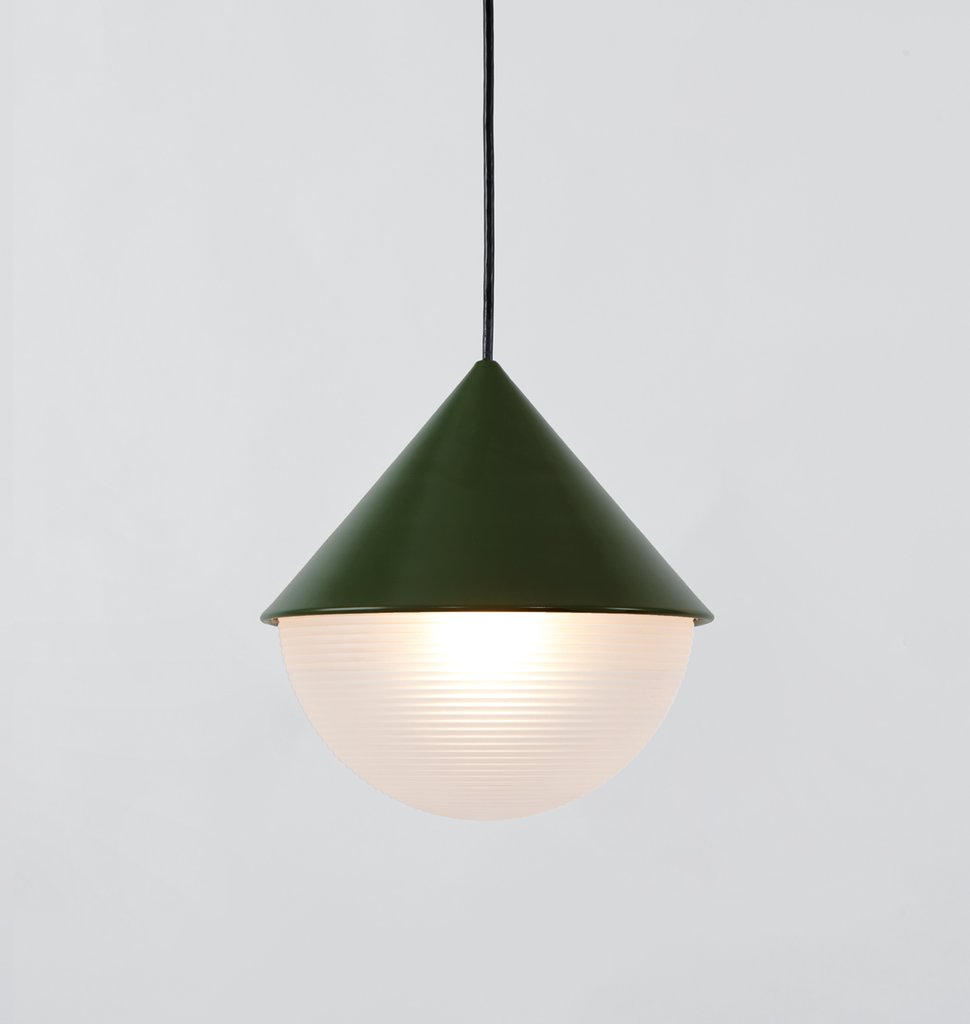
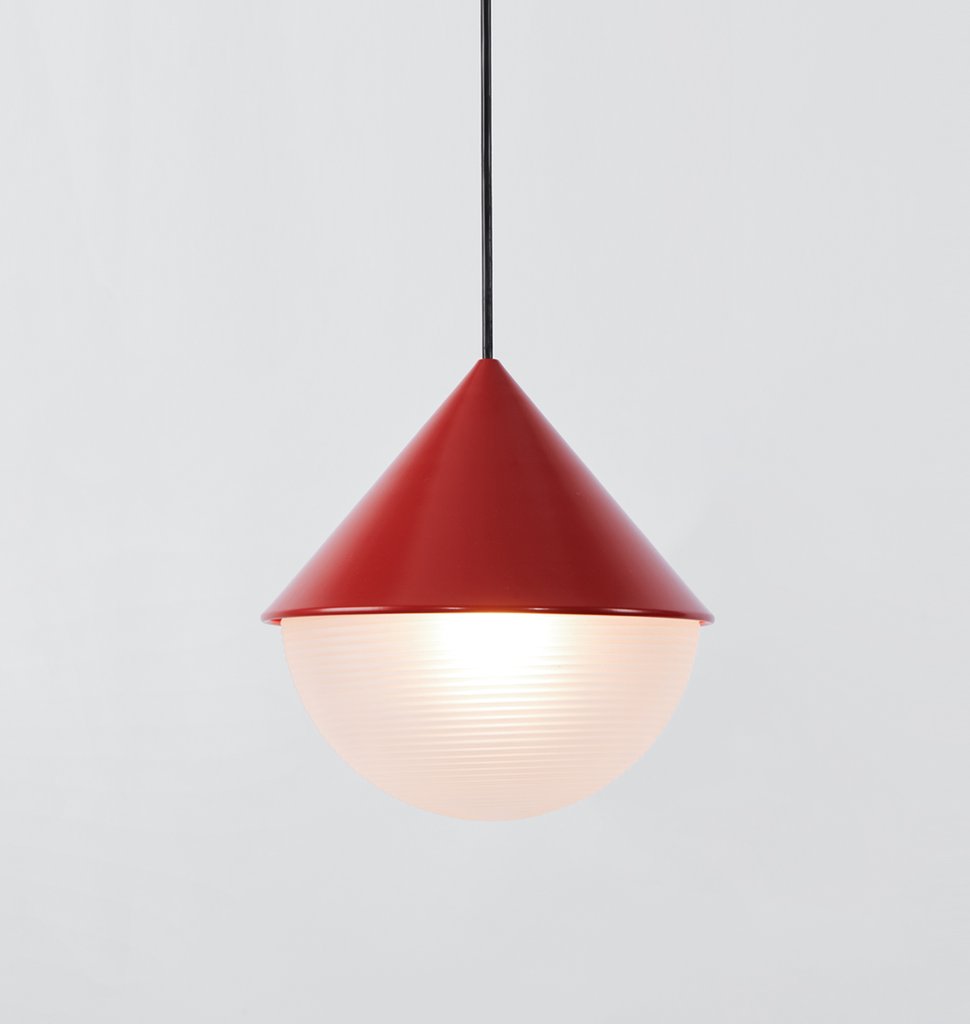
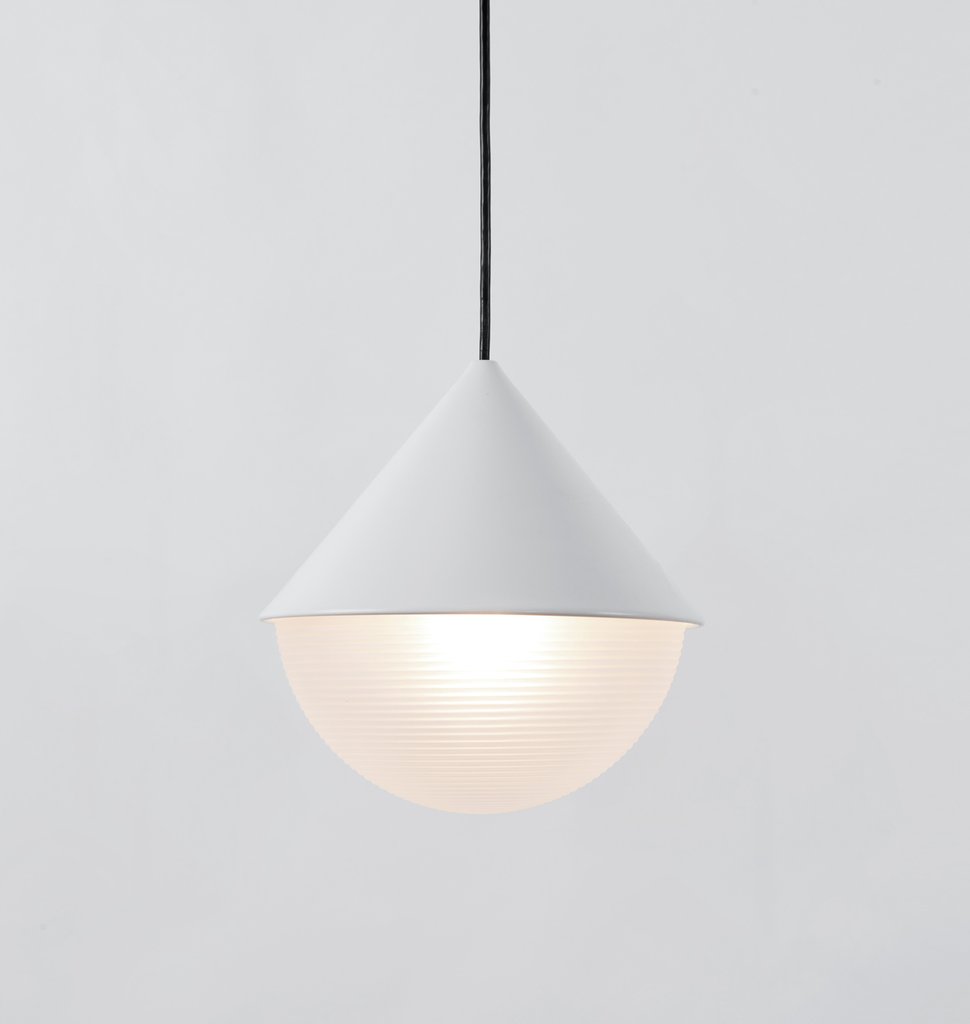
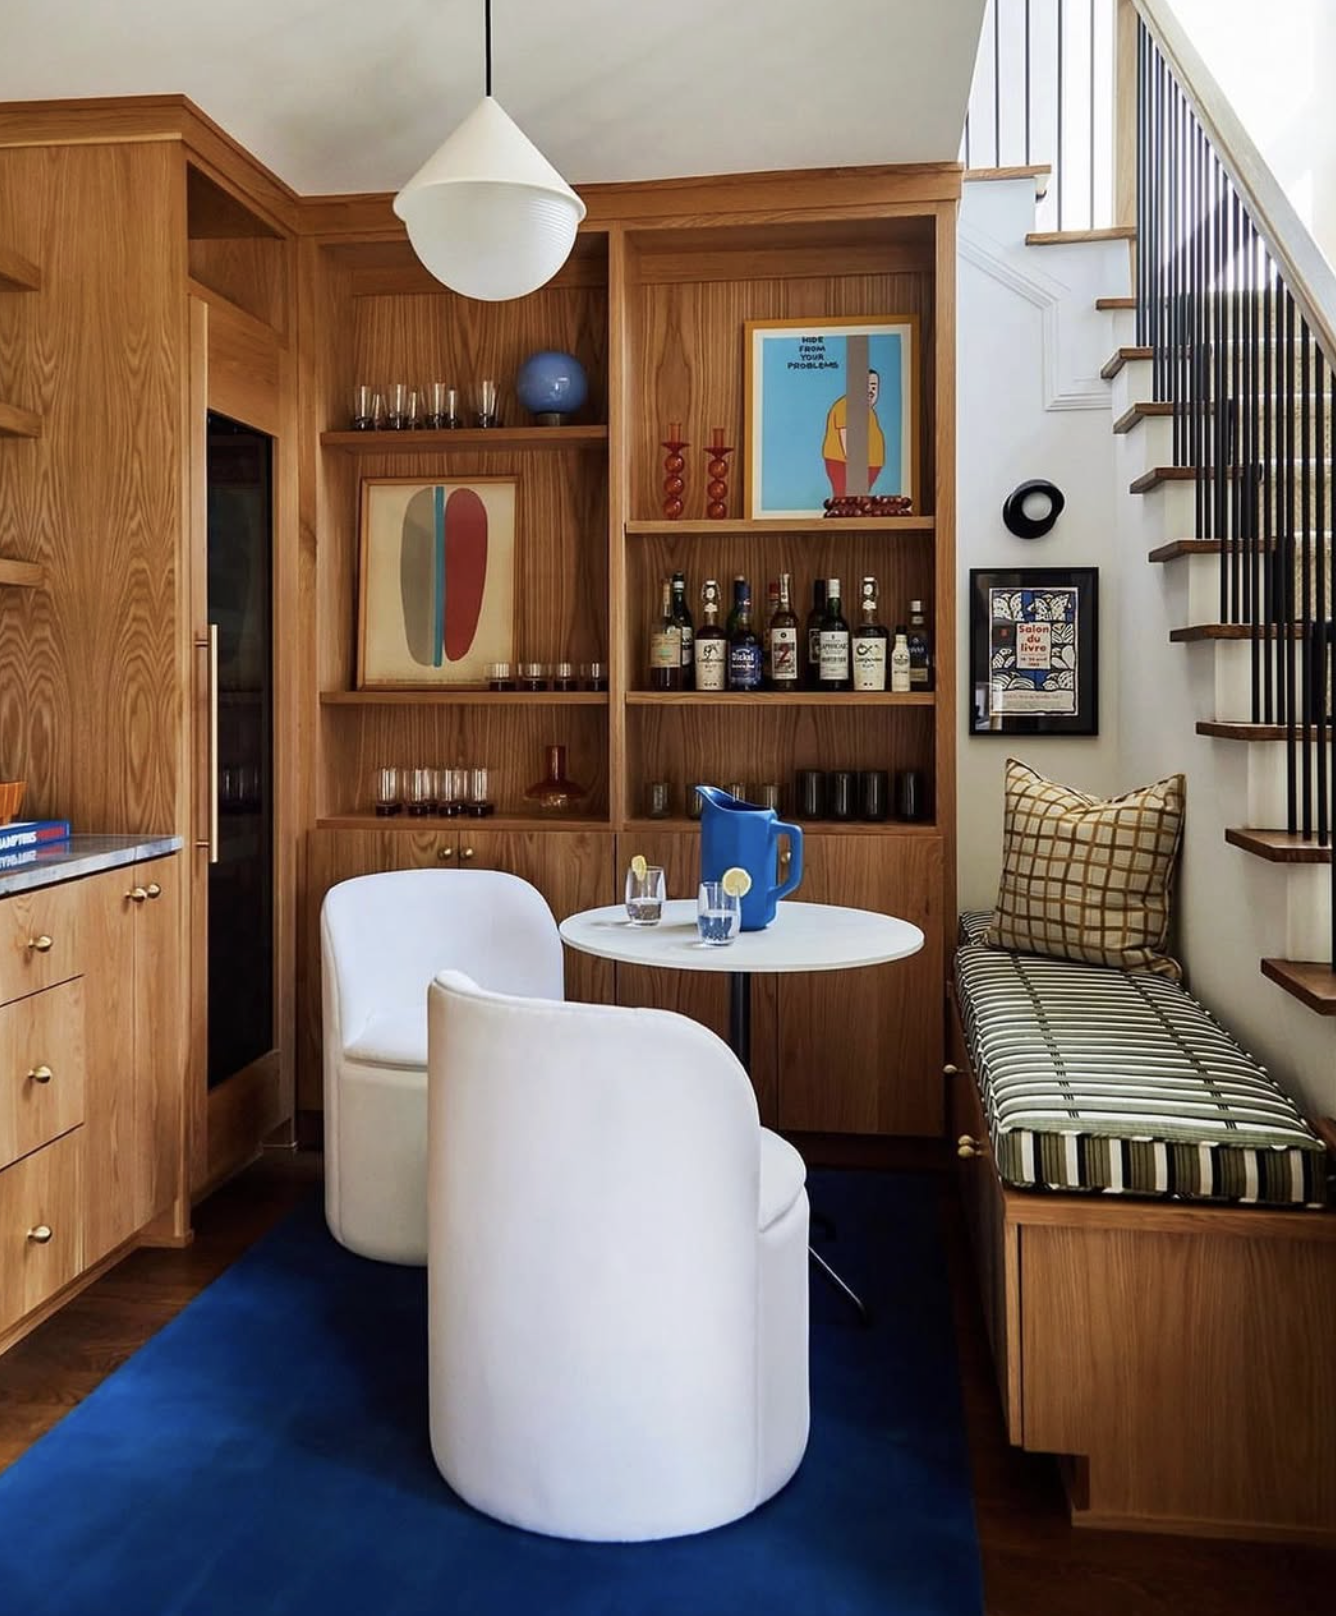
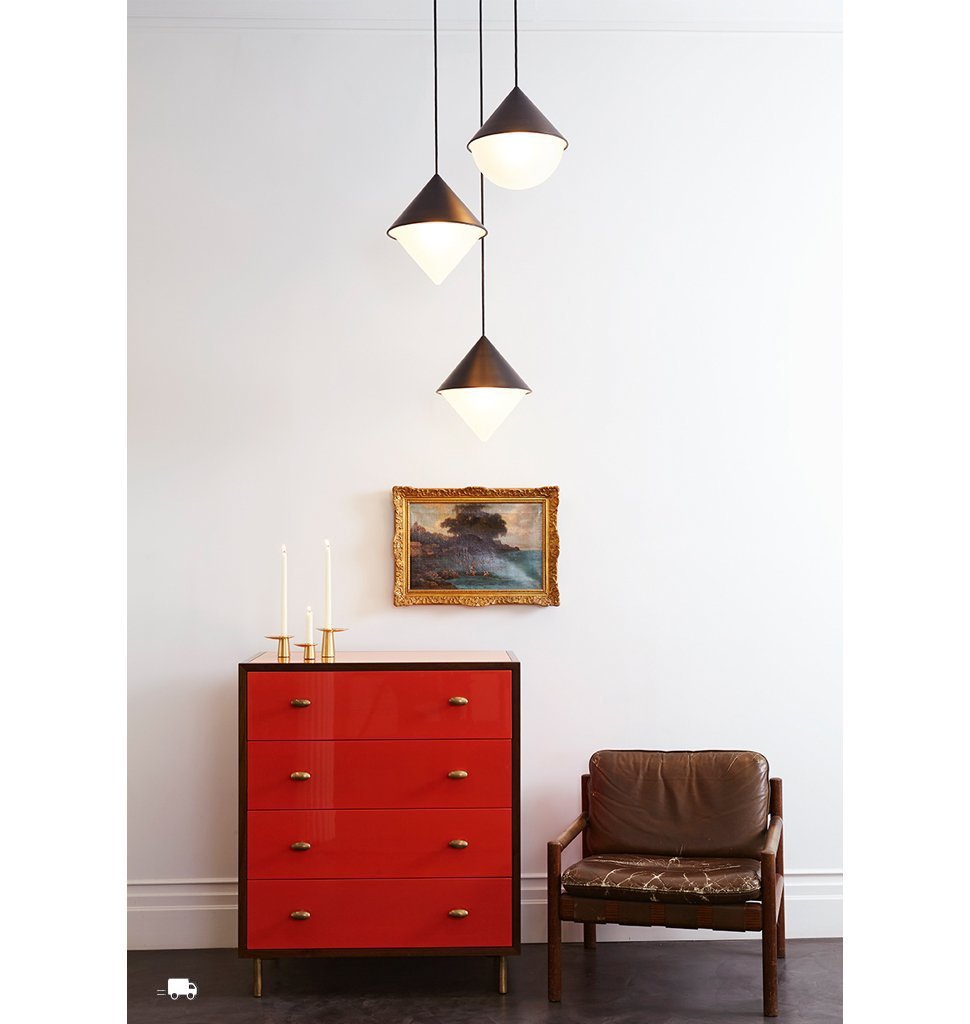
HALF & HALF HEMISPHERE
Par
Roll & Hill
Credit photo : @readmckendree
Credit photo : @emilydorio